‘Tis the season to upgrade homebrewing equipment, or at least make a holiday wish list that has everything you need for the ultimate homebrew setup.
From big upgrades to small adjustments, there are endless ways to make your DIY brewery better with each batch. Five homebrewers who took top honors at the National Homebrew Competition (NHC) share what pieces of their brewing setup helped them get into the winners circle. Each one won the Homebrew of the Year award, a prize given to the brewer of the best-in- show beer as chosen by the judges. This single beer is chosen from more than 9,000 entries — so these brewers successfully produced flawless examples of their entry styles.
Fermentation Temperature Control
Cool it Down
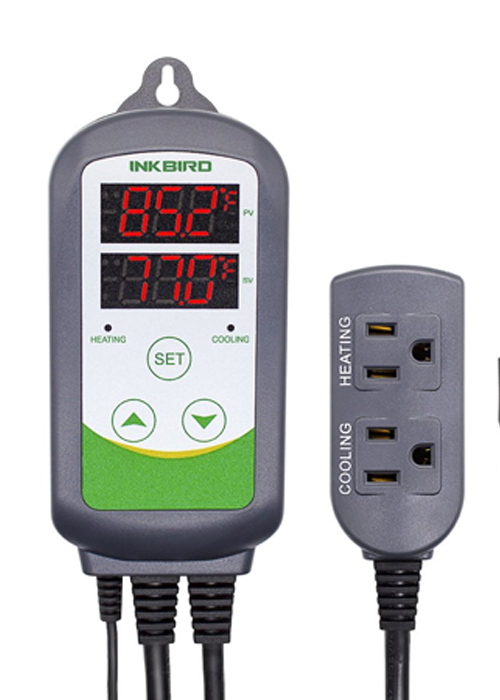
In 2019, Mark Peterson, an electrical design engineer from Arizona, won both the Ninkasi Award for accumulating the most points in the competition, and the NHC’s Homebrewer of the Year. He says it was being able to keep his fermentations cool and consistent in the Arizona heat that brought his brews to the next level.
Although he believes any homebrewer can “think outside the box to find or create the equipment you need,” Peterson uses a chest freezer connected to a temperature controller to maintain the fermentation environment. These temperature controllers sound much more complicated than they are: The freezer or refrigerator is simply plugged into the temperature controller instead of an outlet. A temperature probe is placed inside the fermentation chamber, usually taped to the side of the fermenter for the most accurate reading. Then, the brewer can set a target temperature and the temperature controller will turn the cooling function of the refrigerator on and off as needed. Once the target temperature is set, it is hands off for the brewer!
Peterson won with a witbier, which can ferment at warmer temperatures for the maximum expression of spice and citrus notes created by specialized Belgian yeast. However, all fermentation starts at a temperature around 68 degrees, and then ramps up over several days — which is where the temperature controller comes in. This slow increase in temperature allows the yeast to acclimate to their conditions and avoid being shocked or damaged by fluctuations in the surrounding environment.
Expert homebrewers like Peterson keep yeast vitality high, in order to produce the exact flavor levels they’re looking for because of temperature control.
Heat It Up
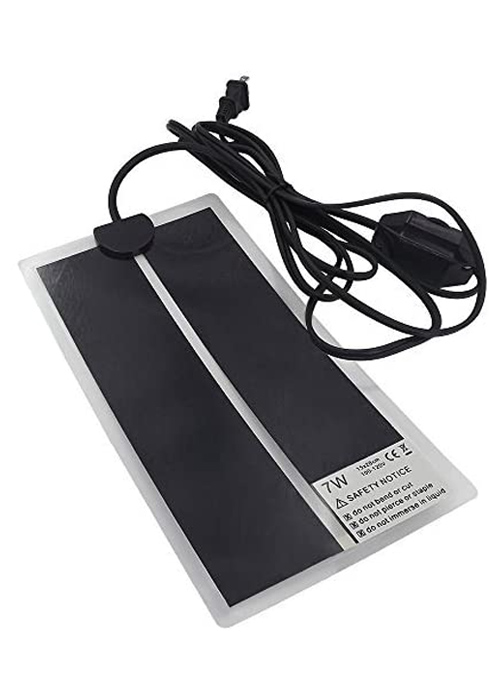
For the 2018 Homebrewer of the Year, Michael Rogers, Ph.D., professor of exercise physiology, keeping his fermentation on the warmer side coaxed the flavors he was looking for out of Belgian ale yeast. His White IPA ferments at temperatures starting at 68 degrees and ramps up to the high 70s over nine days. He achieves this consistent temperature, even on the coldest days in Wichita, Kan., with a heating mat secured to the outside of the fermenter. These are sold by homebrew supply shops, but Rogers invested less than $15 by purchasing a reptile heating pad (like this one) instead.
A heating pad is simple enough to set up, but to get the benefit of keeping the yeast healthy and generating spicy phenols and fruity esters, the temperature must remain steady. For this, Rogers connects his heating pad to a temperature controller, just like the one Peterson uses.
Check the Temp (a Lot)
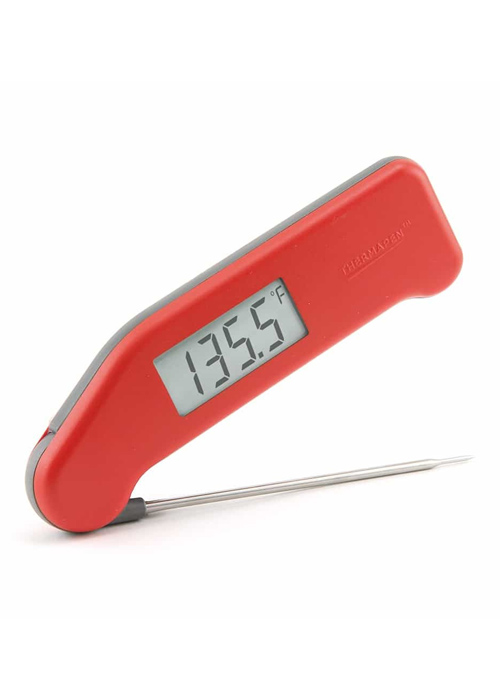
Nick Corona is now the owner and head brewer at Five Suits Brewing in Vista, Calif., but in 2016 he was awarded the Homebrewer of the Year title for his outstanding weissbier.
When he looks back at the equipment in his homebrewing setup that year, “My thermapen was one of the best purchases I made,” Corona says. Beyond providing precise and fast readings, he says he used the Thermapen to double-check the thermometers on his other equipment. “I quickly found out that many of my kettle thermometer readings were way off, even after calibration,” he says.
Since temperatures on both the hot side and cold side of the brew day are essential, an inconsistent thermometer reading could make the difference between a gold medal winner and a beer that is just OK.
When comparing his brew days as a professional to his brew days as an award winning homebrewer, Corona says, “To be honest, it’s mainly just size. The process is very much the same.”
Being sure of the exact temperature at any point in the beer-making process is still imperative as a pro brewer. No matter what kind of beer a brewer dreams up, “accurate fermentation temperatures are crucial for most styles of beer.”
Avoid ‘Hot Spots’
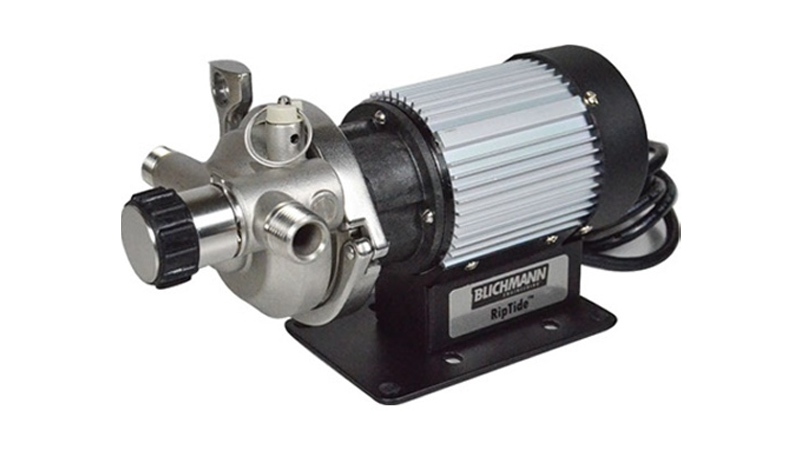
Maintaining a steady temperature on the hot side of the brew day is important to make wort that will ferment predictably. Zach Kosslow, an engineer from Pittsburgh and the 2017 Homebrewer of the Year, says that his recirculation pump allows him to “explore the many options of mash step regimen to tailor their wort’s fermentability.”
Kosslow took a gold in the American Wild Ale category at NHC with an American grisette. His recipe balances the use of Kviek ale yeast and a blend of ale yeast and Brettanomyces. Because these yeast are aggressive fermenters (the blend of Brettanomyces is capable of fermenting dextrins, which provide body in many beer styles) the makeup of the wort that goes into fermentation is important to achieve the desired level of alcohol and a pleasant mouthfeel.
A recirculation pump (like these) ensures the mash is evenly heated, so enzymes can work uniformly on the starches from the grist to convert them to sugar. When the mash doesn’t recirculate, the brewer risks hot spots where enzymes are denatured, or scorching and caramelization near the heat source, which will change the flavor of the final beer.
More Space for Step Mashes
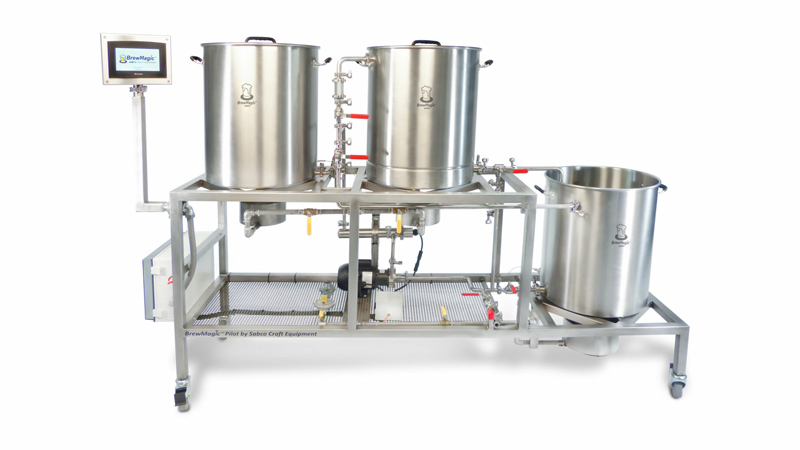
It was an American light lager that secured the Homebrewer of the Year award for Annie Johnson, an IT consultant in Seattle, in 2013. Johnson noted that it’s a style that is particularly hard to brew at home, because of “the multiple extended step mashes. There’s a reason why the mega-breweries make them the best.”
To help her achieve those extended temperature steps during the mash, Johnson said her SABCO mash tun was key. (SABCO now offers these mash tuns as part of a full brewing setup called the “BrewMagic”.) But she also adds that no equipment will produce an ideal brew without the knowledge of brewing required to use that equipment properly. She believes every homebrewer should invest in “a few good books and magazines dedicated to the hobby.”
It’s not necessary to do all of the research on equipment upgrades yourself, either. Johnson suggests talking with the owner at a local homebrew supply shop who can help you work within your budget. She says, “Homebrew clubs are another good source, as sometimes members have extra equipment and get you set up for free or minimal cost.”
All of these award-winning homebrewers agree that those just starting out don’t need to invest in high-end equipment to make quality beer — but they shouldn’t skimp too much, either. “If you go for the cheapest kit, you’ll create crappier beer or create more work for yourself,” says Kosslow. “You get what you pay for!”
However, Rogers adds, “The best equipment available will not make good beer by itself without [the brewer] knowing the procedures to operate the equipment.” He suggests investing more in equipment as the brewer learns about limitations of their current setup.
And, no matter how spiffy your setup, there’s one thing that matters above all, and that’s keeping equipment clean.
“Sanitation should always be driven home in regards to its level of importance,” Corona says. (Five Star Chemicals products are a favorite of both professionals and homebrewers.) Even the most accurate and elaborate gear will produce bad beer if it is dirty. Sour, buttery, and metallic-tasting beer can all occur from equipment that isn’t correctly sanitized or rinsed; so before brewers blame a cheap fermentation vessel for beer flaws, Corona says, they should ensure they have a solid cleaning and sanitization regimen in place.
