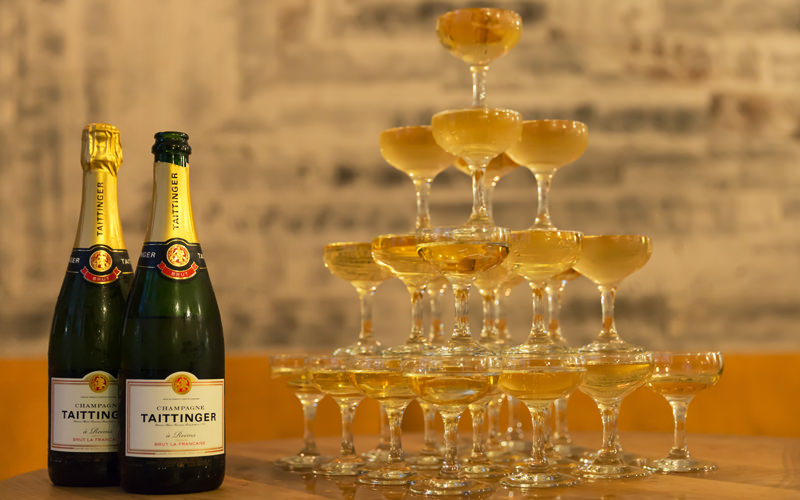
There is absolutely nothing more celebratory than serving Champagne from a Champagne tower – that is unless you also plan to saber the bottles of Champagne before raining the delicious liquid down into the glasses.
And constructing one isn’t as hard as you might think. In fact, with the right tools, it’s pretty simple, but no one else has to know that. Here’s a step-by-step guide to building the perfect Champagne tower, allowing you to look like a boss this holiday season, or really any other time of the year where a tower would look awesome – we think weddings are a perfect example.
Step One – Procure Champagne Coupes
 As much as we love a beautiful Champagne flute and even just plain old white wine glasses, neither should be used in the construction of your tower. Also, it’s important that all the glasses be identical. Many party supply companies have these glasses available to rent if you don’t want to have leftover coupe glasses lying around after completing your epic tower display. That said, coupe glasses are awesome, and great for serving cocktails in as well, so it’s up to you!
Step Two – Find A Sturdy Base
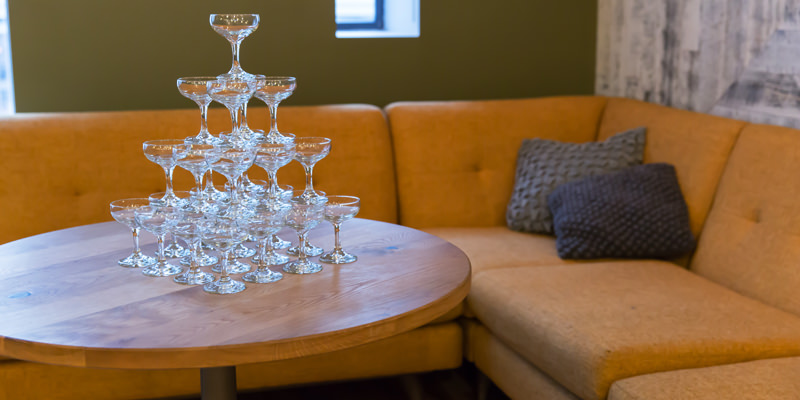 We can’t stress this enough, the base of your tower needs to be sturdy. We like to use a large coffee table, or a dining room table for the job. A flimsy card table covered with a tablecloth just won’t do – unless you want Champagne and broken glass all over the floor.
You may also want to also place a towel or spillage tray under your table, just in case a bit of the Champagne drips, though it shouldn’t.
Step Three – Start Constructing Your Tower, Starting With The First Level
 The tower is built by creating squares that get successively smaller as the tower rises. The one we’ve built in the pictures starts with a base of glasses that is four glasses by four glasses, the next level is three by three, then two by two and finally one glass sits at the top. If you’d like to go bigger, perhaps by starting with a base that is ten glasses by ten glasses, then your next layer would be nine by nine, then eight by eight and so on.
Step Four – The Glasses Must Touch
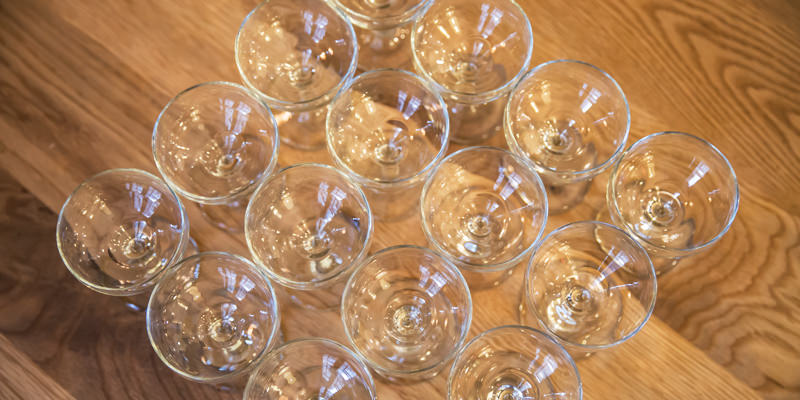 As you build the tower make sure each glass is snuggly touching the other glasses. If you do this correctly, four glasses touching will create a diamond shape in the middle.
Step Five – Build Your Next Level
 After you’ve constructed your first level, move on to the second. Place the center of each glass’s stem directly in the center of the diamonds created by the touching glasses on the lower level.
Step Six – Continue Building Until You Reach The Top
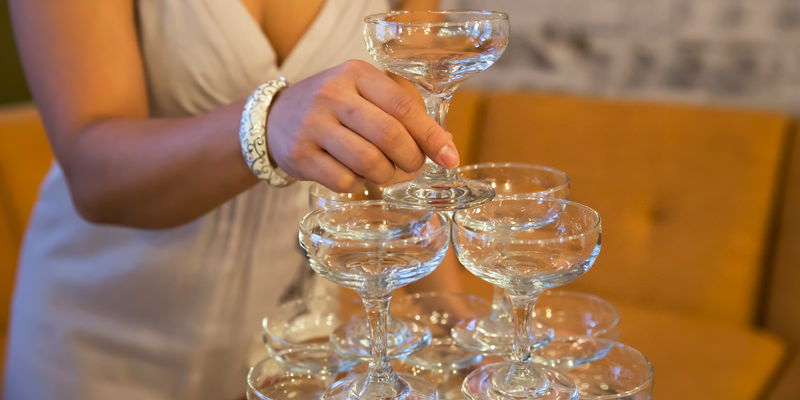 When your tower is completed you should have several layers of successive touching glasses, with every layer above placed in the center of the diamond created by the glasses, with one solitary glass sitting at the top.
Step Seven – Procure Really Good Champagne
 Sure, Prosecco, Cava and even sparkling Cider will work here, but you went to the trouble of building the tower in the first place, so why scrimp now?
Step Eight – Pop Open – Or Saber – Your Champagne And Start Filling
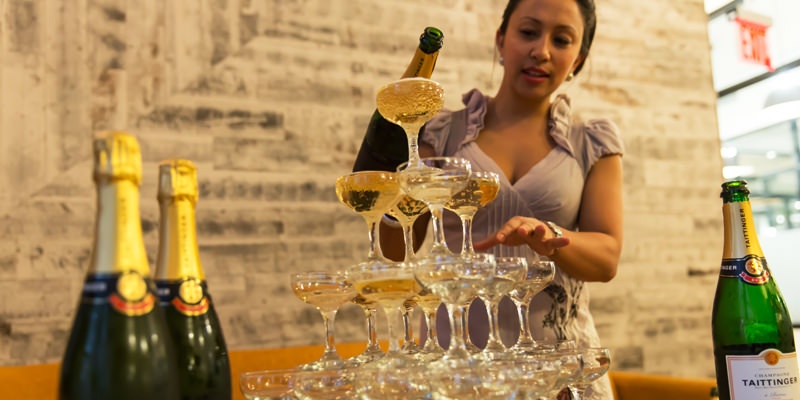 This part takes a ton of patience, but when done right, it looks super cool. Slowly begin pouring the chilled Champagne into the glass at the top of the tower, allowing the Champagne to overflow. The overflowing Champagne will then trickle into the glasses on the level below, filling until they overflow and fill the glasses below them and so on. Simply continue pouring Champagne into the top glass until all the other glasses are filled.
It takes about one bottle of bubbly per 5 glasses, so if you have a 26-glass tower like ours, you’ll need 6 bottles to fill the entire thing.
Step Nine – Let Your Guests Enjoy The Champagne!
 Once the tower is filled, it’s time to allow your guests to grab a glass and make a toast!
Pin This Guide!
