")
The trusty gin and tonic. It’s refreshing. It’s simple. It’s a classic. But not every G&T is created equal. With only two main ingredients in your glass, the quality of those ingredients makes a huge difference. If you’ve already made the smart choice to swap the plastic-bottle window-cleaner gin for a quality spirit, there’s no reason to ruin things with a sub-par mixer.
For a while, you basically had three options for a tonic to pour at home: Schweppes, Canada Dry, or the generic brand at your local market. These options? They’re okay. They’re not great. The Schweppes in England is at at least made with cane sugar, but here in the good old US of A, we’re stuck with corn syrup. And it just tastes different.
The Rise of Craft Tonic
Fortunately, in recent years, gin has regained popularity with mixologists and casual drinkers alike. That has led to the rise of more refined tonics, like Q and Fever Tree. They’re less cloying, more delicate, and they allow your gin to shine at center stage where it belongs. Of course, higher quality means higher price tags, and these craft tonics don’t come cheap.
Hansen’s sells a snappy tonic made with real cane sugar, and it comes in cute little 8oz cans that are perfect for a pair of cocktails. It’s not always the easiest thing to find, however (although Trader Joe’s has recently released a white label tonic that is suspiciously similar).
If you’re feeling more DIY, and you have a nice specialty grocery nearby, you can buy tonic syrup and mix it to your liking. Brands like Tomr’s offer a ready-made concentrate to which you can, as they say, just add water.
But if you’re going to go that far, here’s a little secret: making your own tonic syrup is actually very easy.
The Benefits of Homemade Tonic
There are plenty of reasons to make your own tonic:
- It’s simple to do, and takes little time.
- You get high-quality tonic at a fraction of the price, so you can use your pennies to buy more gin. It’s the circle of life.
- With some alterations to the recipe, you can customize it to suit your taste, or to play with seasonal flavors.
- Never again will you haul home all those heavy cans or bottles of tonic. This frees up more space in your cart for other groceries—like wine and beer.
- Busting out homemade tonic for a guest is nothing short of impressive.
What is This Cinchona You Speak Of?
 The key ingredient that gives tonic its signature bitterness is quinine. It’s derived from the bark of the Cinchona tree, and back in the day was used to treat Malaria.
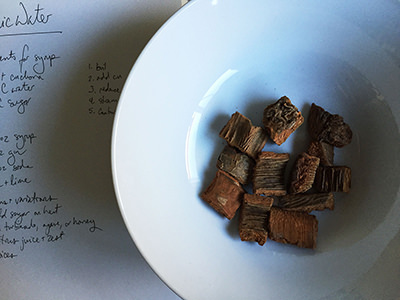
But I don’t have a Cinchona tree, you may be saying. Never fear. The magic of the internet means you can have macerated Cinchona bark delivered right to your door. A quick web search will present you with plenty of options, although the chopped bark from Tenzing Momo is a favorite.
For today’s example, we’ve got some hefty chunks of Cinchona from a local santeria shop. If you find something similar, a quick spin through a coffee grinder will shred the stuff to a more usable consistency.
The Most Basic Recipe
This recipe is probably the most basic tonic version you’ll find, and can be tossed together in about half an hour. There are, of course, plenty of versions that are more involved—but you won’t find them here.
The Most Basic Ingredients:
- 1.5 cups water
- 1.5 tsp chopped Cinchona bark
- 1 cup cane sugar
That’s it. It’ll make about 12 oz or so of syrup, enough for 24 cocktails. Some people insist on adding citric acid, but if you serve your G&T with a fat wedge of lime (and why not?), that will work just fine.
There are many variations to the classic G & T. Beyond this basic setup, feel free to introduce other flavors or use different sweeteners. Make a winter tonic by adding clove, orange peel, and cinnamon, and sweetening with turbinado sugar. Brighten up your spring sipping with some Meyer lemon, cardamom, and lemongrass, and sweeten with agave nectar.
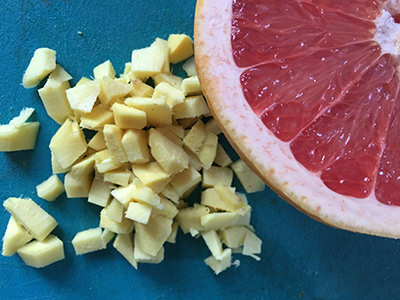
In today’s example we’re adding lemon zest, grapefruit zest, and fresh ginger.
The Process
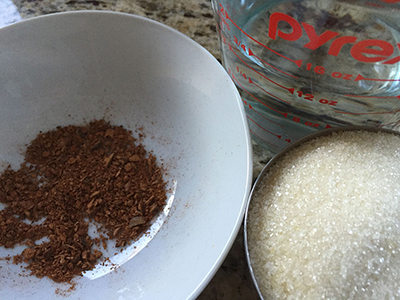
Measure out water, sweetener, and Cinchona. Bring water to a boil in a small saucepan. Meanwhile, shred, chop, or crush any additional ingredients, like citrus zest.
Step Two: Simmer
 Add cinchona, along with any bonus ingredients. Reduce heat and simmer for 20 – 30 minutes. You could technically add your sugar now, but we recommend waiting until Step Four.
Step Three: Strain
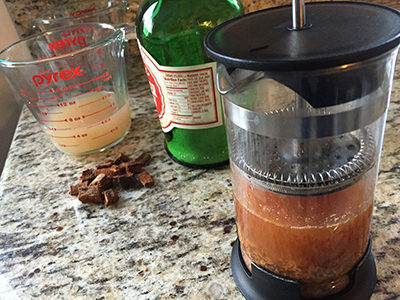 Kill the heat and let things cool a bit. Strain using a French press or a piece of cheesecloth. Make sure you give it a squeeze if you’ve added softer ingredients like ginger. You should have about 1 cup of liquid.
Step Four: Sweeten
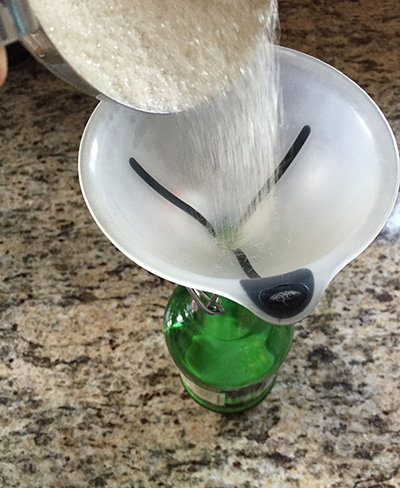
Get yourself a glass container—a swing-top bottle is ideal, but a glass jar with a lid works, too. Combine liquid and sweetener in the container, using a 1:1 ratio. Then? Shake it like crazy. In a few minutes, everything will combine into a syrup. It will keep for a couple weeks, and adding a shot of high-proof vodka never hurts, to keep things fresh.
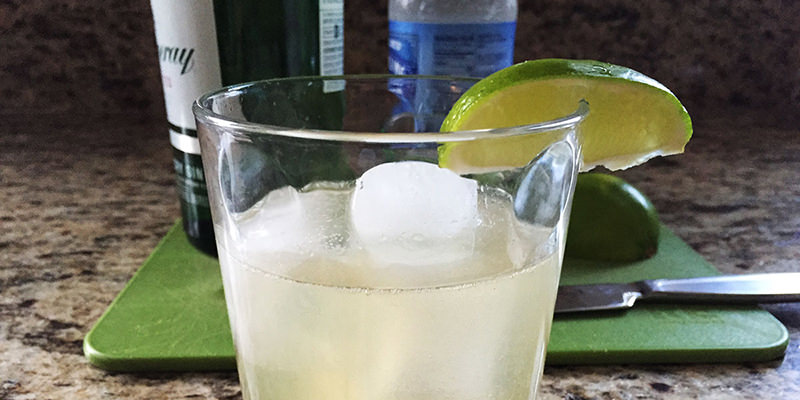
Serving Your G&T
To serve each cocktail, you will need:
- .5 oz syrup
- 1 oz gin
- 3 oz sparkling water
- a wedge of lime
- plenty of ice
Pour syrup and gin into glass and swirl to mix. Pop in the ice, and top with sparkling water.
You can use a mineral water or seltzer, but if you want to really get snazzy, grab yourself a soda siphon. Then you’ll have an unlimited supply of seltzer, which will come in handy for all sorts of cocktails—or an impromptu water fight. Either way, you’ll be sipping a gin and tonic that’s anything but boring.